
I moved! To Madison, Wisconsin!

Yup, that's right. I now reside in America's Dairyland. A place where fried cheese curds and bratwurst are diet staples, craft beer is never more than a short stroll away, and a lot of towns are named after their Northern European heritage (which my Norwegian mother greatly enjoys). Also, since the town is surrounded by two lakes, it has some great running paths with awesome views of the town (like the one posted above).
But while most of those facts may be pretty common knowledge about Wisconsin, there's one part of Madison in particular that I did not know before coming here. Namely, that the city has one of the best farmer's markets in the country.

Every Saturday from 6am to 2 pm, vendors line up on the sidewalk surrounding the gorgeous capital building selling everything from fresh vegetables to baked goods and cured meats.

Of course, cheese curds can be found in abundance. While I prefer them fried, many people are find just eating them straight out of the bag!


One of the most popular merchants, the Brunkow Cheese tent, smells heavenly as pieces of their thick and delicious cheese spit and sputter on a hot griddle. Interested shoppers fight for toothpicks to sample some of the tiny pieces of thick, yet melt-in-your mouth pieces. As a frequent customer, I can attest that their cheese pan-fries beautifully at home and should be enjoyed with generous amounts of crackers and wine.


My favorite raw honey vendor features a large glassed-in beehive. If you look closely enough, you can even spot the queen!

Baked goods are always in abundance, and particularly tempting on chilly mornings.


Of course, samples must be tried whenever the opportunity arises.


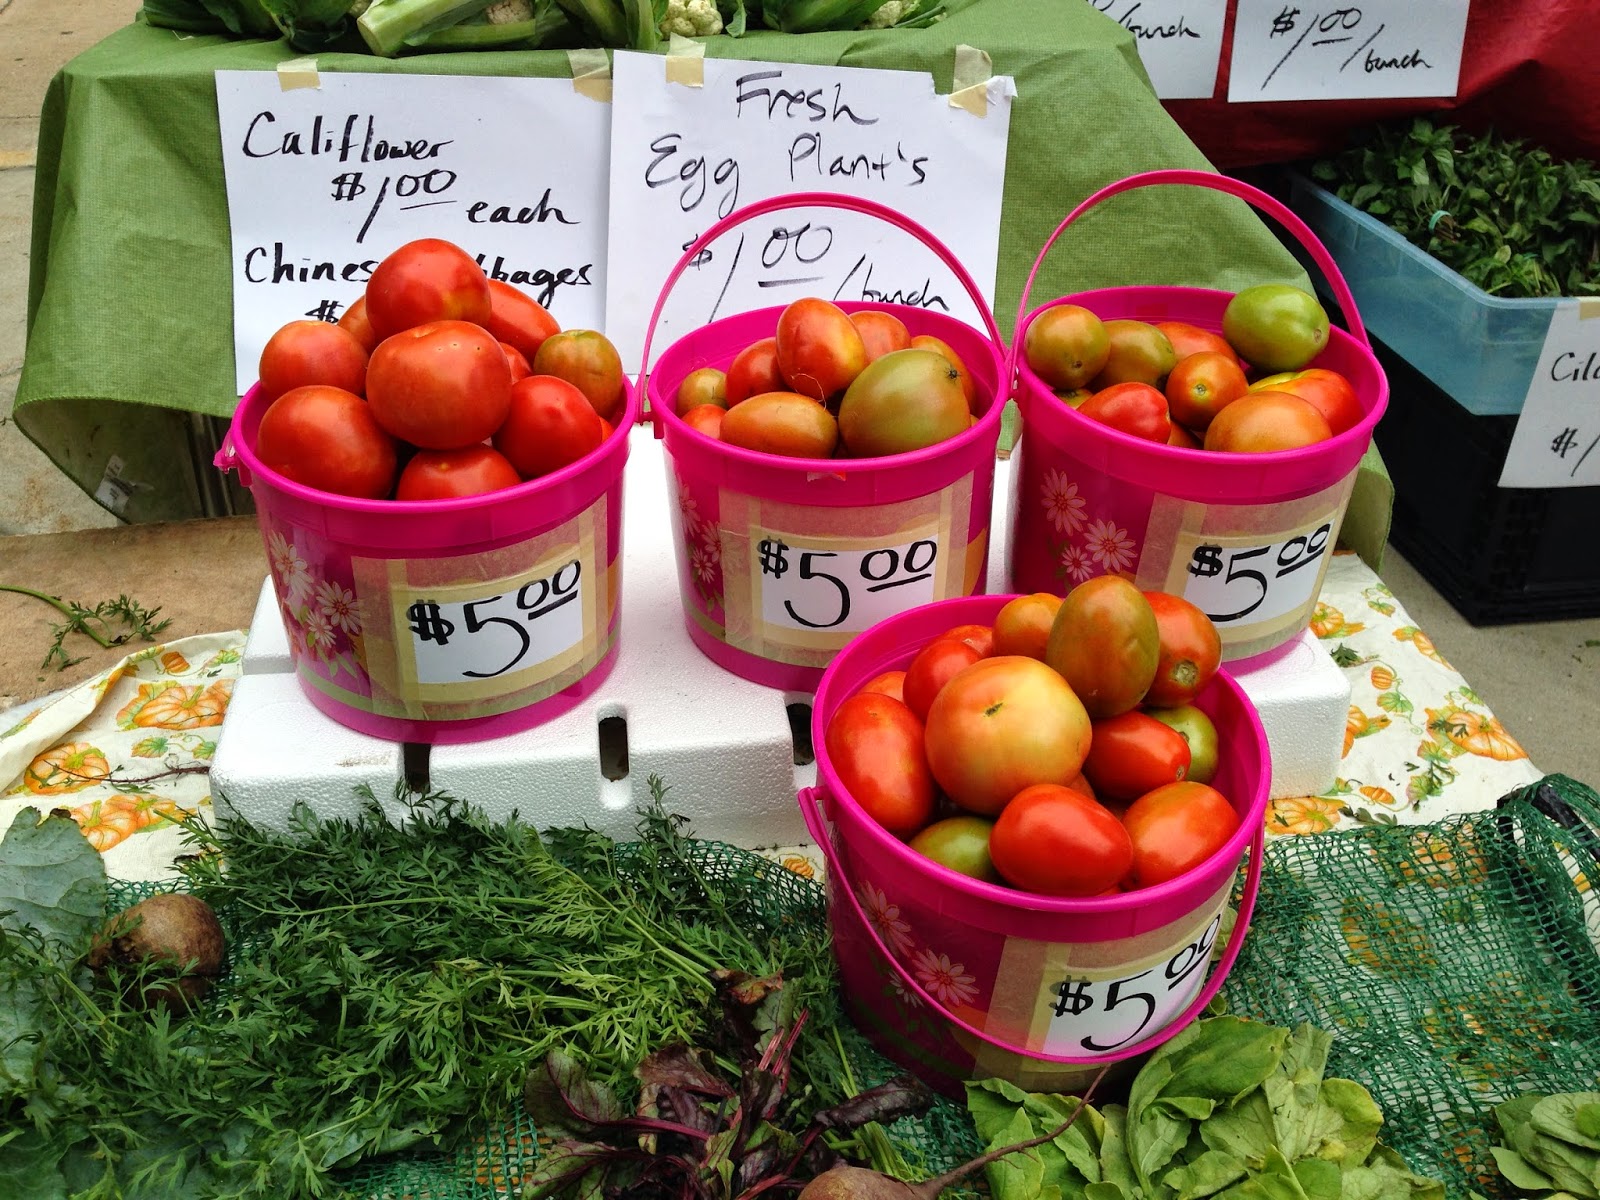
Unlike many other farmer's markets I've been to, the prices of vegetables are often unbelievably cheap. I can always count on being able to purchase squash, eggplants, onions, and peppers for $1 or less.
It's difficult to tell from this picture, but the cookies shown here are ENORMOUS. Easily 6 inches in diameter. Note the size of the M&Ms in the cookies on the bottom row.

And one of the main talking points of the market is Stella's bakery. Always busy, this stand churns out warm pull-apart spicy cheese bread that's a favorite of UW-Madison students and locals alike.

I prefer their mini-breads, smaller versions of the large loaf, because they have more cheese. And it's very likely that I'll be posting a copycat recipe soon, so stay tuned!!
I'll keep you posted on the goings-ons of Madison as the leaves begin to fall and the beer changes flavor.


